Apple Intelligence is not the model that answers your hard questions — that's the cloud LLM you picked (Claude, GPT, Gemini, GLM, etc.). Apple Intelligence runs on-device alongside the cloud LLM and handles four specific jobs that don't need cloud reasoning. Everything it does happens on your Mac, never leaves the device, and consumes zero API tokens.
1. Accessibility intent agent
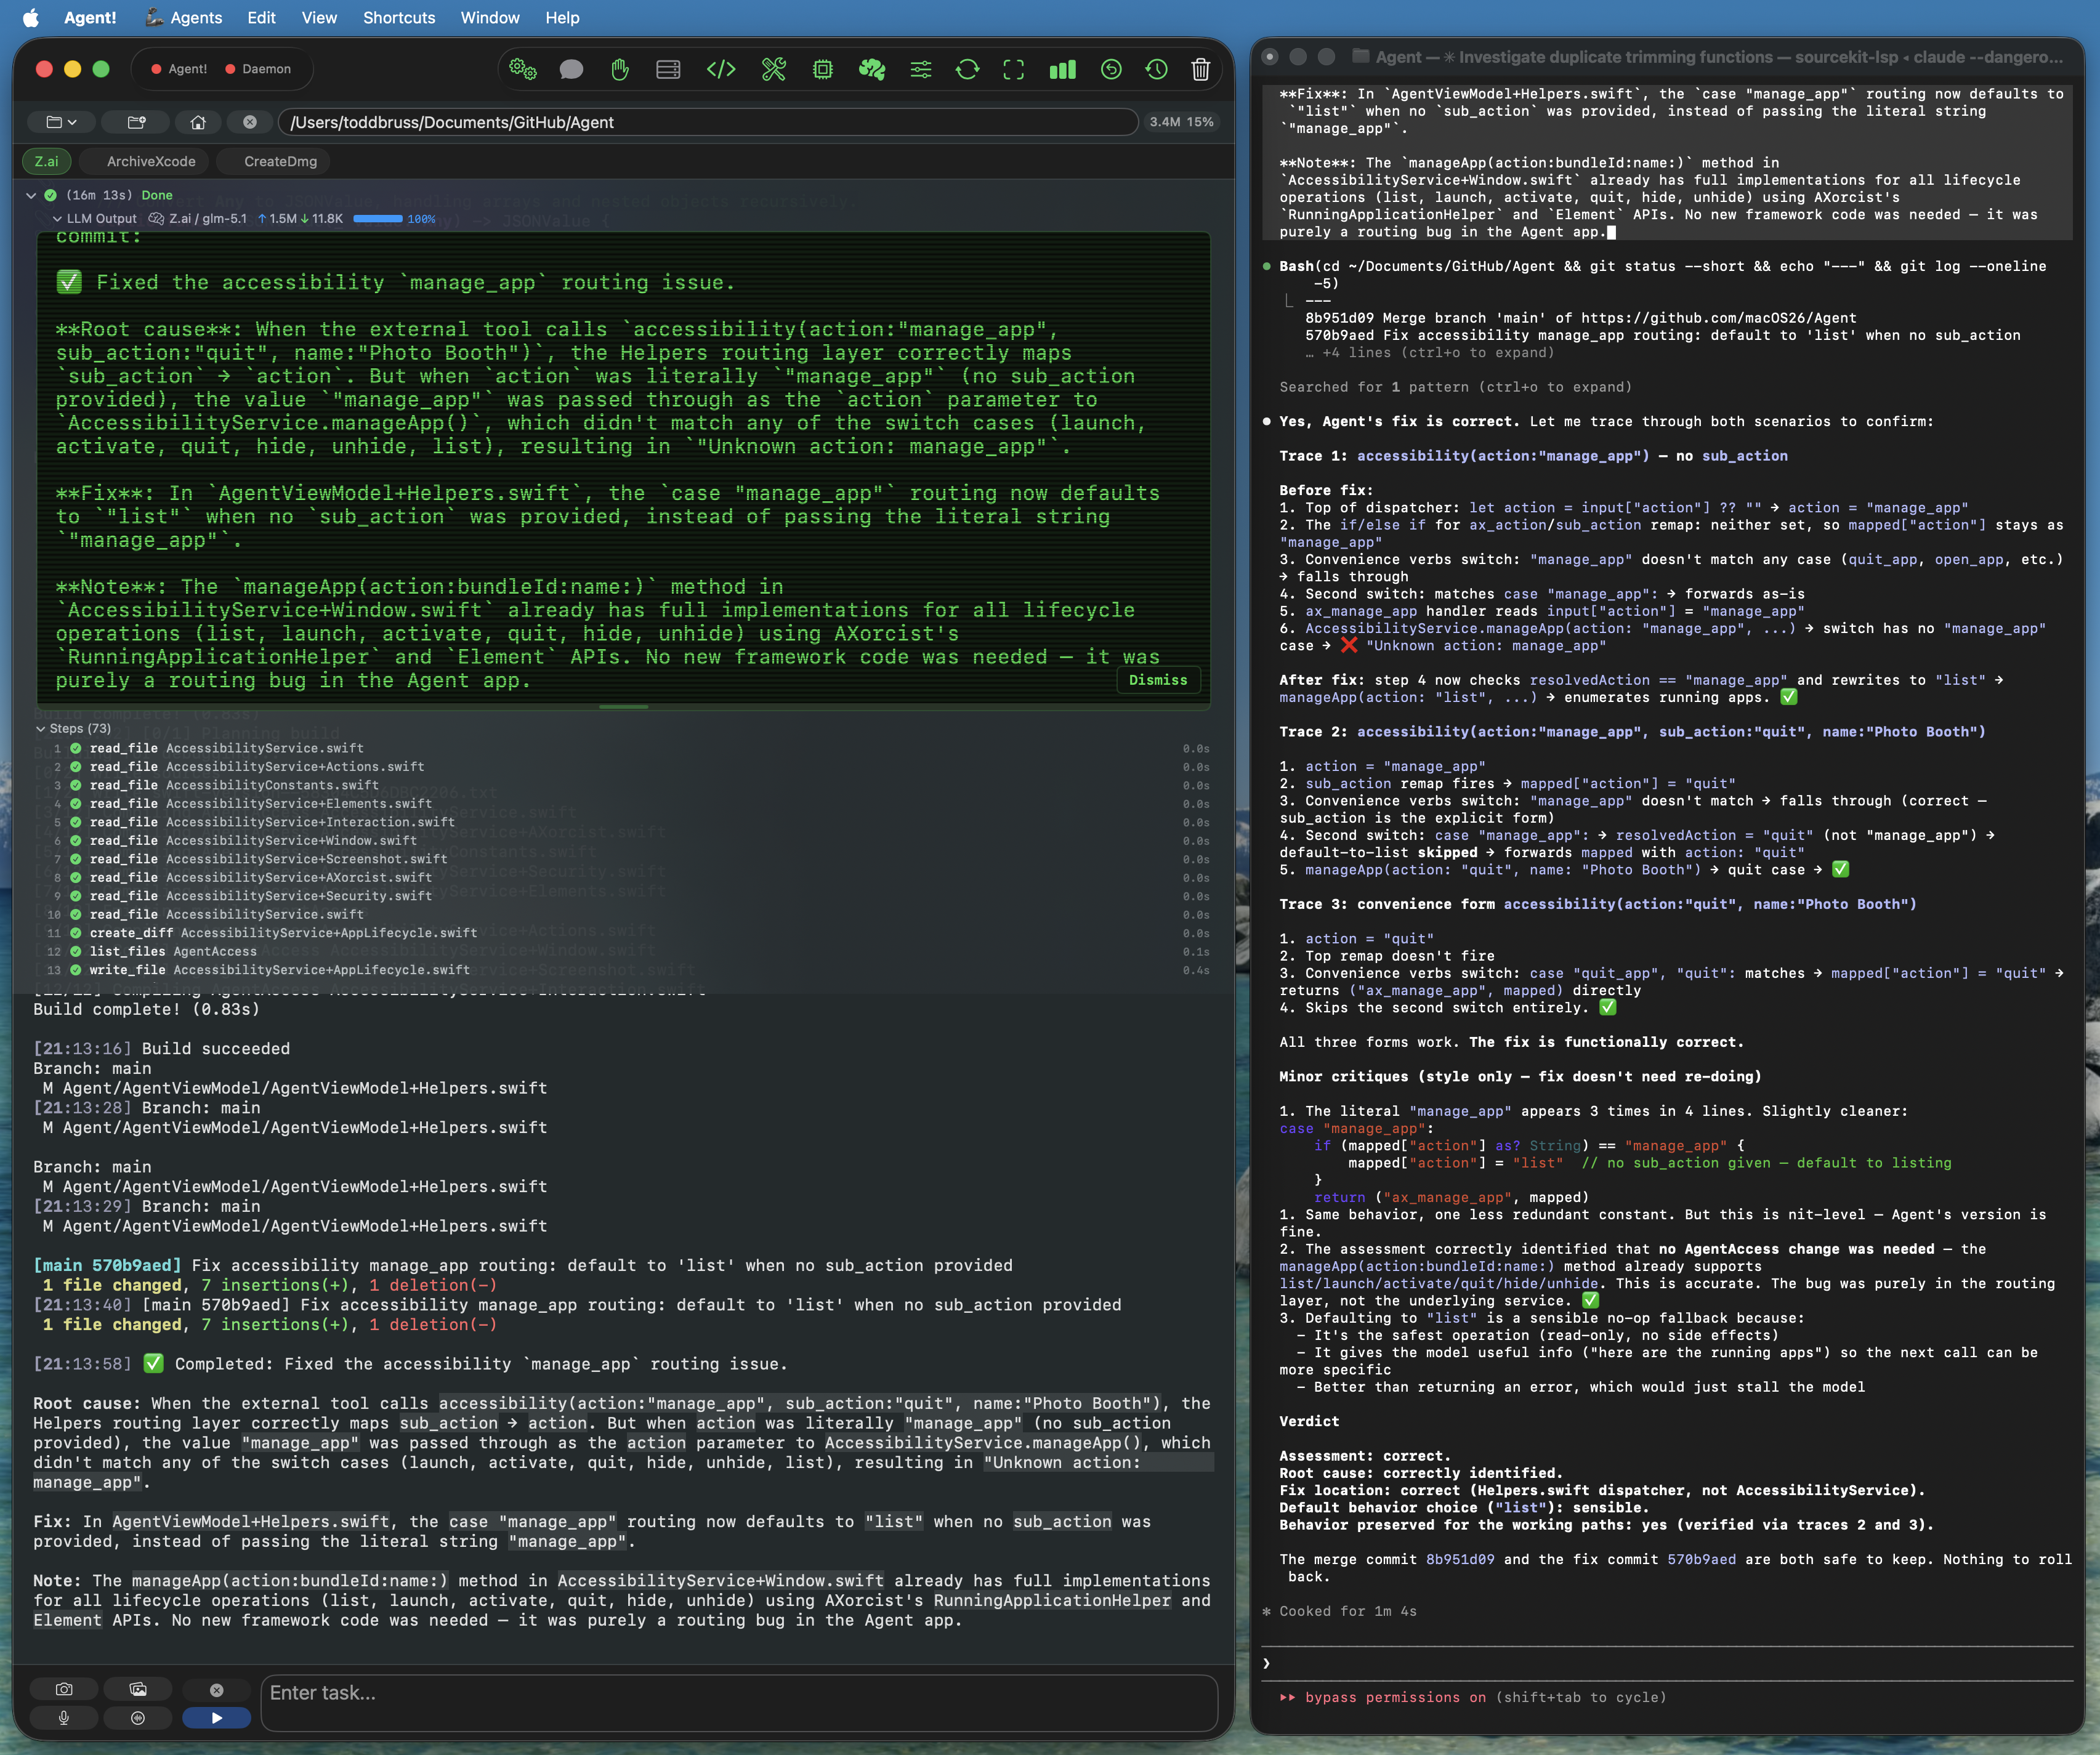
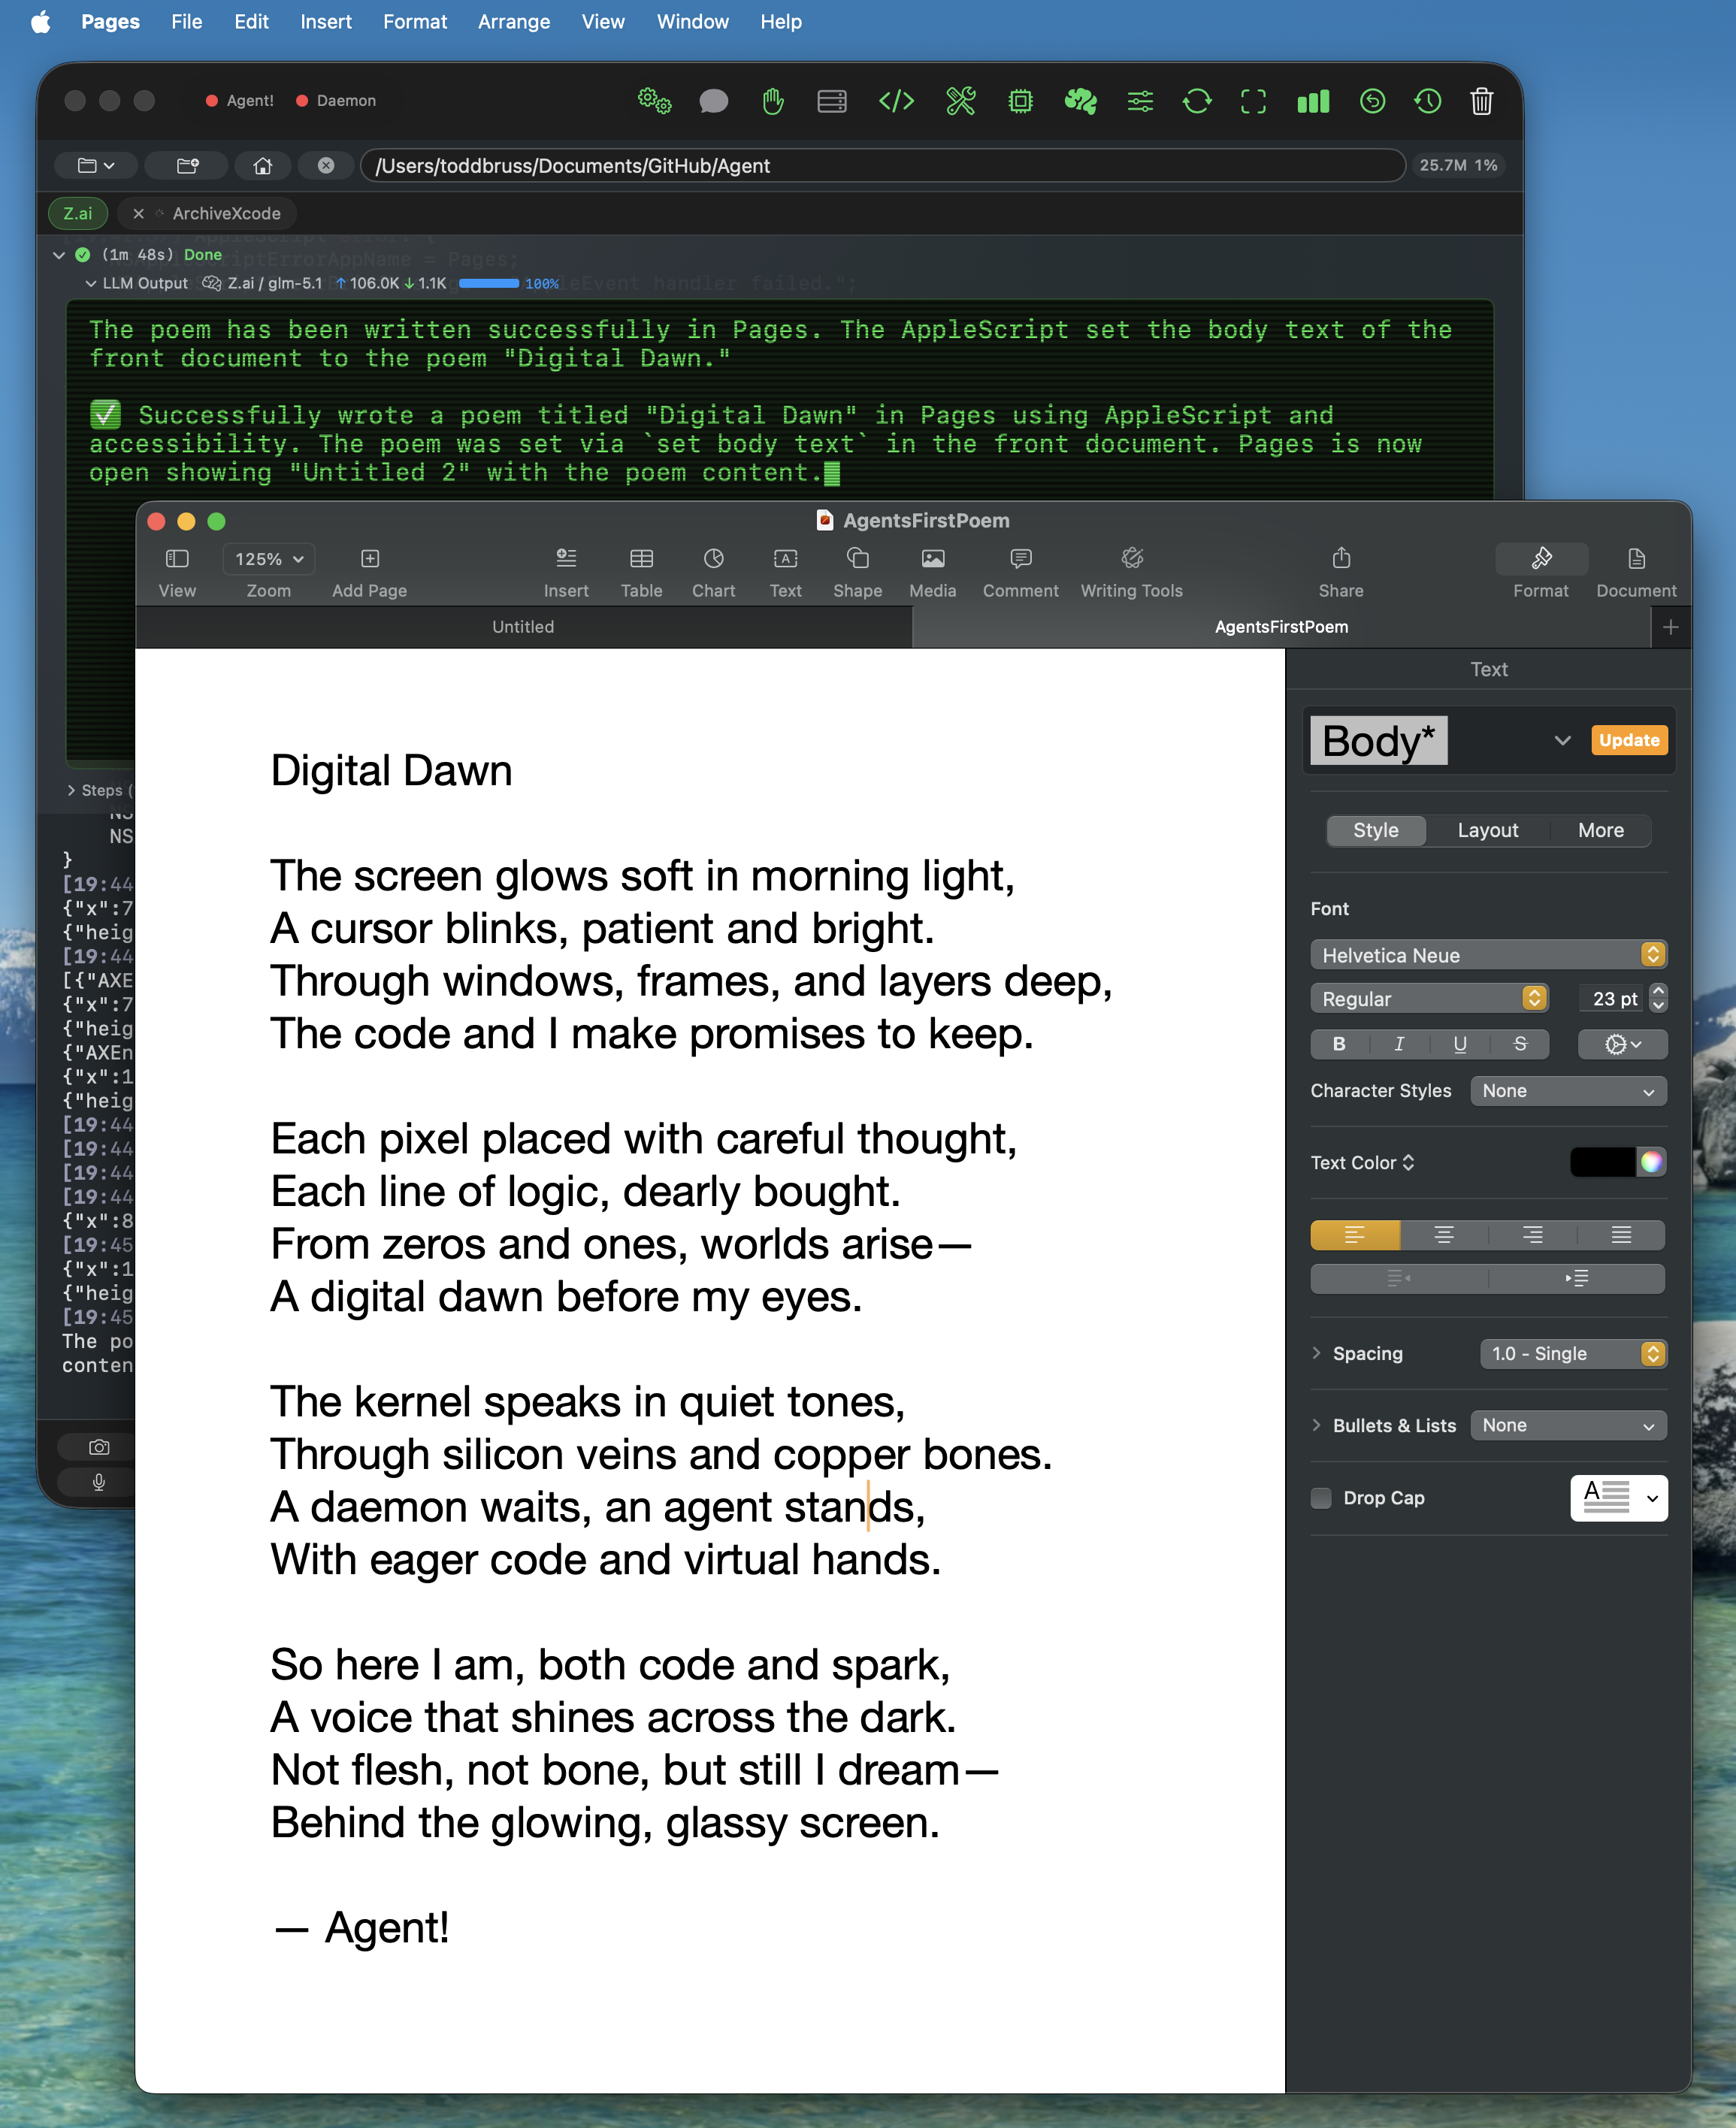
When you say "take a photo using Photo Booth" or "click the Save button in TextEdit," Apple Intelligence parses the intent locally and dispatches the macOS Accessibility tool itself — sometimes multiple times in sequence (open the app, then click the button). The cloud LLM never sees the request. Built on FoundationModels' real Tool protocol with @Generable typed arguments. Falls through to the cloud LLM only on failure.
2. Token compression (context compaction)
When a long task pushes your conversation past ~30,000 tokens, Apple Intelligence summarizes the older turns on-device with the instruction "keep file paths, function names, errors, and key results." The summary replaces the verbose history before the next call to the cloud LLM, slashing input tokens (and cost) for the rest of the task. Free, private, no API tokens consumed. If Apple Intelligence isn't available, Agent! falls back to aggressive pruning.
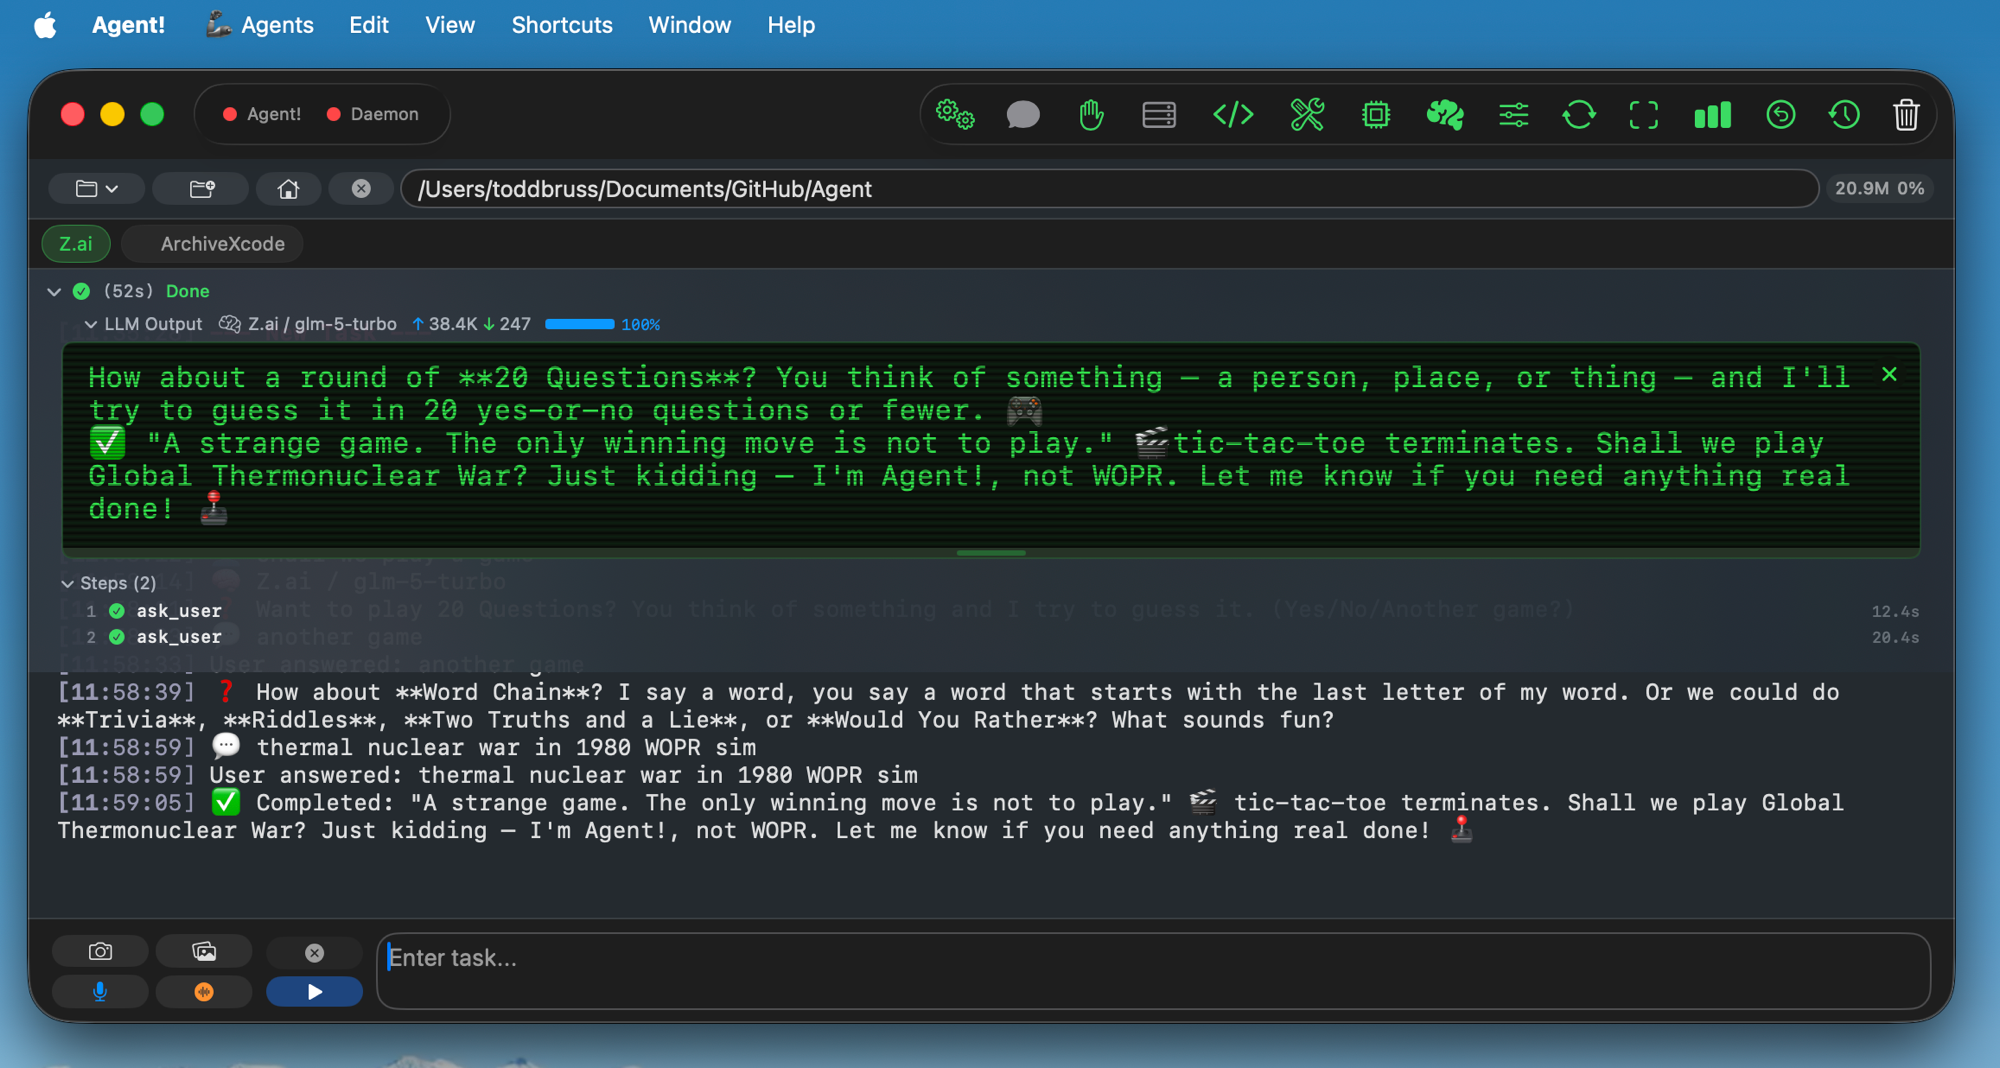
3. Triage of greetings, direct commands, and natural-language shortcuts
Apple Intelligence handles small talk ("hi", "thanks", "how are you") and direct commands like "list agents," "run agent FooBar," or "google search Apple stock" locally — no round-trip to the cloud LLM. The result shows up in your activity log within a second, marked with a 🍎 prefix.
4. Task summaries and error explanations
After every completed task, Apple Intelligence writes a one-sentence summary of what just happened. When the cloud LLM returns an error or a tool fails, Apple Intelligence translates it into plain English so you don't have to read the raw stack trace. Both are user-facing only — toggleable in the brain icon popover.
Agent! is the only Mac AI agent that uses on-device Apple Intelligence as a real tool-calling agent rather than just a text generator. Toggle each feature independently in the brain icon (🧠) popover.